Weapons to Find and Craft
You can find swords, daggers, clubs, axes, bows and the Hammer in Deep Dish Dungeon, and craft many replacements at a Workbench. The Silver Dagger comes from the altar behind the Jaguar Door and has a special role against invisible enemies.
Weapon Damage, Stamina and Recipes
Damage ranges are the weapon’s base values before Forge Anvil upgrades or food bonuses. Compare stamina alongside damage, then use the recipe and acquisition columns to decide what to craft or collect.
| Weapon | Base damage | Stamina per use | Recipe | How to get it |
|---|---|---|---|---|
| Arrow | — | — | Workbench: 1 Stick + 1 Rock makes 5 Arrows. | Chests, drops and spawn points. |
| Axe | 18–22 | 9 | Workbench: 1 Leather + 2 Iron Rods; collect an Axe first. | At the end of the tunnel beyond the grassy stairs. |
| Bone Club | 9–11 | 9 | — | 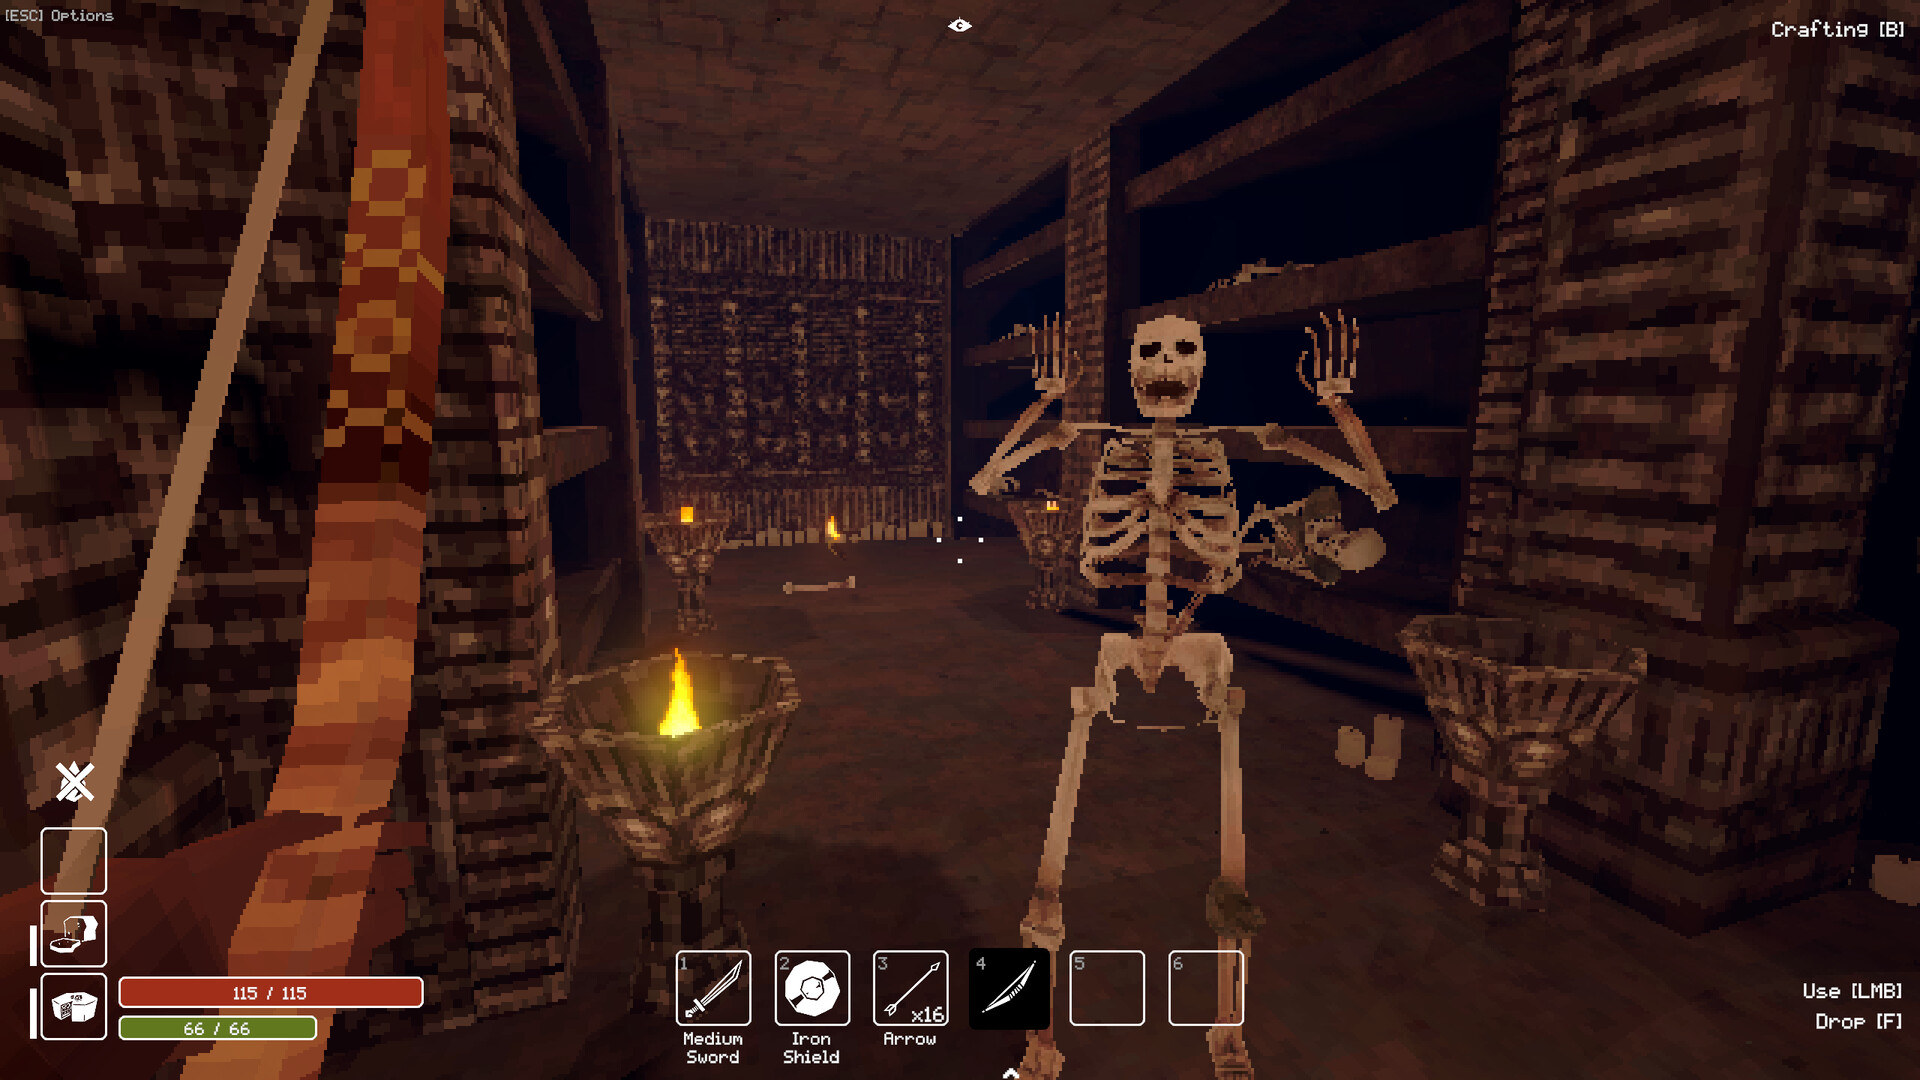 Open the small sewer chest containing Leather and a Bone Club.Playing this video connects to YouTube. |
| Club | 15–25 | 12 | — | Chests. |
| Crude Sword | 7–9 | 9 | — | Spawn points. |
| Dagger | 4–12 | 5 | — | Chests, including behind a moving door near the crypt fountain. |
| Great Axe | 22–28 | 15 | Workbench: 1 Leather + 2 Iron Rods + 1 Nail; requires an Axe first. | Chests or Workbench crafting. |
| Hammer | 8–12 | 10 | Workbench: Iron Rods + Rock; collect the Hammer first. | Climb through the sewer pipes to reach the Hammer.Playing this video connects to YouTube. |
| Harpoon | — | 3 | Workbench: 1 Hook + 3 Iron Rods. | A chest in the sewers, or Workbench crafting. |
| Knight’s Blade | 41–49 | 18 | — | Crypt chest behind the sliding-door puzzle opposite the fountain. |
| Long Bow | — | — | Workbench: 1 Wood Plank + 1 Iron Rod + 1 Leather. | Craft at the Workbench. |
| Long Sword | 31–39 | 18 | Workbench: 6 Iron Rods + 2 Leather. | Chests, placed weapons or Workbench crafting. |
| Mace | 25–35 | 15 | — | Chests. |
| Medium Sword | 22–28 | 15 | Workbench: 4 Iron Rods + 1 Ragged Cloth. | Chests or Workbench crafting. |
| Pickaxe | 9–11 | 6 | Workbench. | Lower spider prison, behind the door with skeleton archers above. |
| Short Sword | 13–17 | 12 | Workbench: 2 Iron Rods + 1 Animal Hide. | Chests, spawn points, placed weapons or Workbench crafting. |
| Silver Dagger | 4–12 | 5 | — | Take it from its altar behind the Jaguar Door.Playing this video connects to YouTube. |
| War Hammer | 30–70 | 27 | — | Chests. |
| Wooden Bow | — | — | Workbench: 2 Wood Planks + 1 Leather. | Chests or Workbench crafting. |
Build Your Weapon Crafting Setup
- Gather 3 Wood Planks, 2 Iron Rods and 1 Leather, then build a Workbench from the Crafting menu.
- After collecting Leather, use the Workbench to turn 2 Animal Hides into 1 Leather for further equipment.
- For a steady Iron Rod supply, build a Smelter from Clay and Scrap Metal, then feed it Scrap Metal and Coal.
- Choose a weapon recipe from the table above. Find the original Hammer and Axe before crafting replacements, and collect an Axe before making the Great Axe.
Find the Axe Beyond the Sewers
- From the main camp, return through the sewer shortcut opened before the eel boss. Backtrack to the path split, take the broken gate and turn the wheel to lower the water.
- Crouch through the hole and deal with the skeleton waiting beyond it. Continue until you can sprint-jump the gap onto the stairs beside the grassy area.
- Follow the next section into the tunnel and collect the Axe at its end. Use it to cut the brown roots, including those near the hub campsite.
Collect the Knight’s Blade in the Crypt
Once you reach the crypt camp on the Bean Gem route, continue to the water fountain. The moving door opposite it hides the sliding puzzle leading to the Knight’s Blade.
Follow the Axe and Bean Gem walkthrough for the descent to the crypt camp.
- Enter the moving doorway opposite the fountain and move the door immediately ahead to get inside.
- Move the door on your left all the way to the right.
- Slide the door that originally faced the entrance as far left as possible. Open the revealed chest and take the Knight’s Blade.
Get the Silver Dagger Behind the Jaguar Door
- Bring the Hammer to the staircase leading from the main room to the barred room. Break the bars, go left and pass through the ceiling opening to find the large smelter.
- Carry the appropriate Key Piece molds to the large smelter. Each cast needs 5 Coal, 8 Scrap Metal and its mold; the Jaguar Door requires 3 Key Pieces.
- Open the Jaguar Door and take the Silver Dagger from its altar. Keep it for invisible enemies: Vision Elixir reveals them, while the Silver Dagger lets you kill them.
Choose Attacks You Can Afford
The Dagger and Silver Dagger each cost 5 stamina per use, while the War Hammer costs 27 for its 30–70 damage range. Leave yourself a reserve for evasion, swimming and follow-up attacks. A powerful swing is less useful if it leaves you unable to respond.
Shield blocking transfers damage to stamina, so account for defense when choosing your weapon. Shields provide a passive buff while equipped and an active buff while blocking. Avoid spending your whole reserve attacking when you still need to block.
Bring a bow and arrows for the large red bats around the sewer water-gate route. Aim with the crosshair; multiplayer arrows account for bow upgrades and buffs. Keep a clear shot instead of trying to fire through thin walls.
Keep the Hammer for rusty fences, the Pickaxe for yellow goo and the Axe for roots. The War Hammer does not replace the Hammer for breaking bars. A lit Torch in your right hand burns spider webs.
Upgrade a Weapon at the Forge Anvil
The Forge Anvil accepts the melee weapons and bows in the comparison table, except the Harpoon; arrows are ammunition. Its damage bonuses are cumulative totals over base damage, so do not add every level’s displayed bonus together.
- Upgrade to level 1 with 5 Scrap Metal and 2 Wood Planks for +1 damage over base.
- Upgrade to level 2 with 5 Scrap Metal and 1 Grinding Stone for a total of +4 damage over base.
- Upgrade to level 3 with 10 Scrap Metal and 1 Grinding Stone for a total of +9 damage over base.