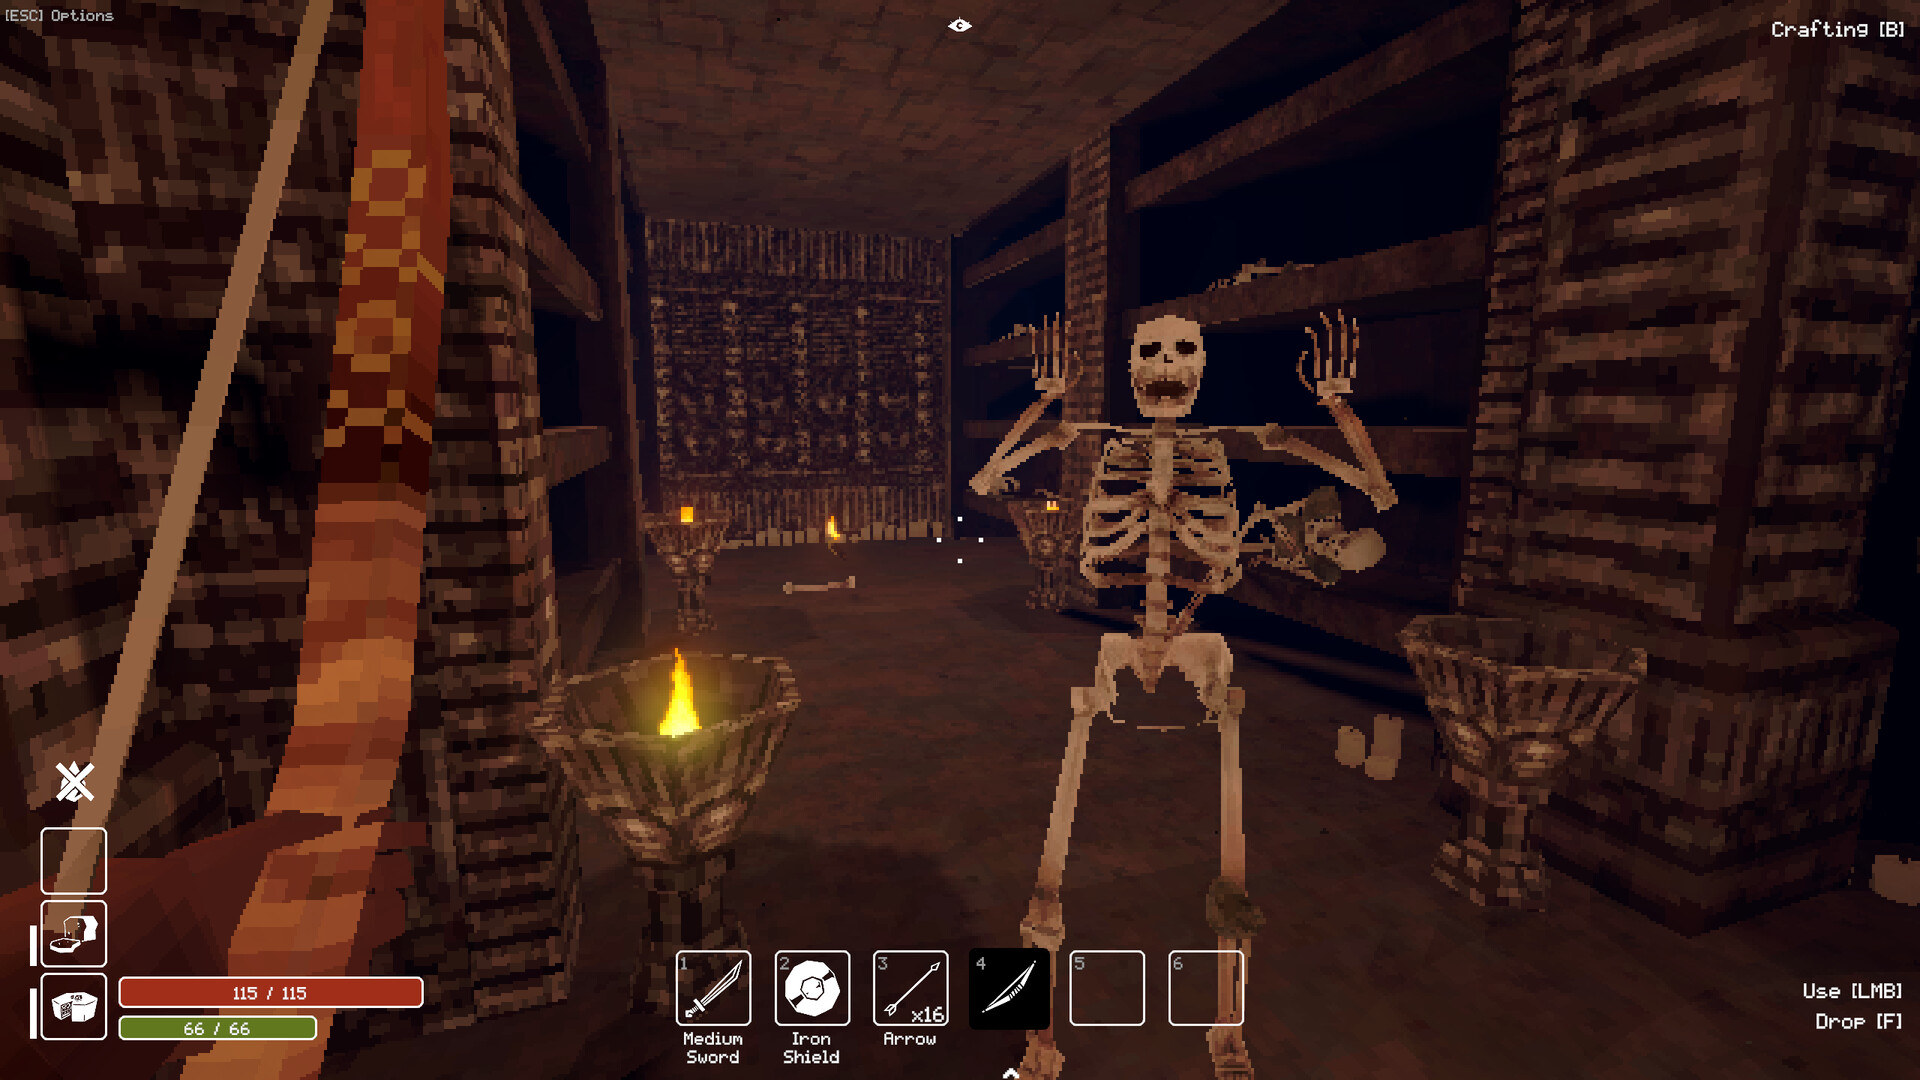
Use Hub Camp as Your Reference Point
Navigate Deep Dish Dungeon by learning how Hub Camp connects to the sewer pipes, forge, prison, caves and upper staircases. Open the sewer manhole, cave double doors and crypt elevator as you reach them to shorten your return trips.
Keep a short route note whenever you leave camp: name the entrance, the vertical connection and the obstacle stopping you. Record whether you climbed or descended at a staircase. When you lose your bearings, return to the last landmark you recognize before trying another branch.
Main Areas, Connecting Landmarks and Gates
| Area and Connection | Landmarks, Gates and Required Tools |
|---|---|
| Opening rooms to Hub Camp | Cook the apple and mushroom and drink at the fountain before passing the food gate. The Small Key opens the next door toward the camp. |
| Hub Camp to the early sewers | Use the water wheel behind the hub stairs and the rope descent. The flooded passage and rusty-pipe climb lead to the Hammer, which opens rusty gates. |
| Lower hub bars to the forge and Jaguar corridor | Break the bars with the Hammer to reach the forge route. Cast the Key Pieces for the Jaguar Door; the room behind the Iron Key door contains the Prison Key chest. |
| Prison entrance to the Giant Spider | Follow the plank crossing toward the Prison Key door. Torches clear webs, Iron Rods repair levers and Chains repair the Mechanism. Find the Pickaxe below and use the powered elevator to reach the Giant Spider. |
| Deeper sewers to the boat and eel arena | Yellow goo requires the Pickaxe. Drainage wheels, a Grappling Hook ledge and the Water Clock lead toward the boat. Repair its Mechanism with an Iron Rod and Chains; the later water-gate route leads toward the Giant Moray Eel. |
| Goblin Caves to the hub double doors | The boat's top fuse switch opens the far-end door. Inside the caves, railroad tracks, explosive rock barriers and a black bean bush mark the route to the plank crossing and hub shortcut. |
| Cave and crypt descent | The overgrown tunnel contains the Axe. Hammer-set Nails and Rope provide descents through the crypt's shafts and sliding-door passages. At the bottom, the right branch leads to the Bean Gem; the slanted path reaches the prison elevator. |
| Upper hub stairs to the Corn Gem | Go left from the hub stairs, then left across the plank and up the spiral staircase. A Grappling Hook reaches the high doorway on the left wall; the Axe clears roots before the gem chest. |
| Roof gap to the fountain area | Grapple through the gap above the locked upstairs door. Clear roots to open its other side. Explosives remove the fountain area's central rocks, allowing its lever to turn on the lights and grow corn. |
| Exploding-fungi rooms to the astronomy room | Ropes, Grappling Hook climbs and an Axe-cleared passage connect the upper route. Beyond the fungi, spiral stairs lead to the rotating constellation room and the circle-door puzzle for the Lantern. |
| Dining hall and Queen's Door | The gold door beside the dining table opens with Cooked Veggies, Bean Soup and Stew placed on its Table Slots. This branch leads to the Queen Crown. |
| Fountain route to the Sanctuary Door | Beyond the fountain and roots, place the Bean Gem, Corn Gem, Guarana Gem and Tomato Gem on the statues. The Sanctuary Door opens into the final room, where the Offering Plate requires Deep Dish Pizza. |
Pack for the Passage Blocking You
- Match the obstacle to its tool: Hammer for rusty fences, Pickaxe for goo, Axe for roots, explosives for rock piles and Torch for spider webs.
- Craft Hooks at the Workbench and combine a Hook with Rope in your inventory to make a Grappling Hook for ledges.
- Make Rope from 2 Vines and 1 Stick, and a Nail from 1 Iron Rod. A Hammer lets you install a Nail on a flat wall for a Rope descent.
Open the Sewer Returns to Hub Camp
- Use a Grappling Hook on the ledge near the Hook chest at the start of the deeper sewers to create a climbable rope.
- Climb the rope and the two ladders above it to reach the skeleton on the upper route.
- Follow the left-hand route from the skeleton to reach the gate that blocks the lime plant and final drainage wheel.
- Break that gate with the Hammer to reach the wheel beyond the lime plant.
- Turn the water wheel in the section you swam through on your return to open the hub shortcut past the skeleton.
- After carrying the later door handle up the broken stairs, climb the ladder on the right to reach a manhole cover.
- Open the manhole cover to establish a shortcut directly to the main hub before continuing toward the eel.
Connect the Goblin Caves and Crypt
- Activate the top switch at the boat's Fuse Box to open the door at the far end of the boat ride.
- Follow the rising left path in the goblin caves into the small entrance on the left to reach the railroad tracks.
- Clear the grey rocks with explosives to open the railroad route toward the ladder.
- Follow the passage past the ladder and black bean bush to reach the large door.
- Position the nearby plank as a bridge to complete the crossing beside that door.
- Open the large door to connect the caves back to the hub.
- At the bottom of the crypt shaft, take the slightly slanted path to reach the elevator shortcut into the prison.
Unlock the Upper Hub and Fountain Shortcuts
- Use a Grappling Hook at the roof gap above the locked upstairs hub door to create a route into the upper area.
- Clear the roots behind the platform with the Axe to expose the other side of the locked hub door.
- Open that door from inside to create another shortcut back toward camp.
- Place a gem on the later statue reached by going right and upstairs to reveal the hidden fountain room.
- Pull the lever behind that room's fountain to open the spiral-staircase shortcut back to the main hub.
- Climb down the wall vines beside the sundial to reach the nearby camp.
Recover Your Bearings After a Death
Set your respawn point at a sleeping bag before pushing deeper. Your Backpack stays with you after death, while items that are not kept go into a death pack. Use the nearest opened connection when returning for it.
If you died in water, look for the death pack floating on the surface. A death in mid-air leaves it on the last solid ground. Packs that fall below the world return to camp or spawn.