What the food Gems unlock
The Bean, Corn, Guarana and Tomato Gems open the Sanctuary Door when you place one on each of its four statues, in any order. Inside, you must offer a cooked Deep Dish Pizza and complete the moving-bowl encounter to reach the Seed.
Every Gem, its location and its destination
| Gem | Location | Prerequisite and pickup | Destination and purpose |
|---|---|---|---|
| Tomato Gem | Spider prison, beyond the elevator. | Reach the upper prison arena and defeat the Giant Spider. | Place it on any statue beside the Sanctuary Door to help open the final room. |
| Guarana Gem | Giant Moray Eel arena in the sewers. | Drain the arena using its wheels, defeat the stranded eel and collect its drop. | Place it on any statue beside the Sanctuary Door to help open the final room. |
| Bean Gem | At the statue at the bottom of the crypt. | Descend through the goblin-cave route using Nails and Rope, then pass through the moving doors. No boss fight is required for this pickup. | Place it on any statue beside the Sanctuary Door to help open the final room. |
| Corn Gem | Chest behind roots above the spiral staircase reached from the hub. | Use a Grappling Hook to reach the high doorway, then cut the roots with the Axe. | Place it on any statue beside the Sanctuary Door to help open the final room. |
Prepare for the collection route
Bring a Torch for prison webs, the Hammer for rusty fences and the Pickaxe for yellow goo. The Corn Gem also needs the Axe and a Grappling Hook, while the crypt descent uses wall-mounted Nails and Rope. Refresh your food and leave unnecessary materials at camp before setting out.
Each Nail costs 1 Iron Rod, and each Rope costs 2 Vines and 1 Stick. Craft Grappling Hooks in your inventory by combining a Hook with Rope; the Hook itself is crafted at the Workbench.
Collect the missing Gems
- For the Tomato Gem, progress through the spider prison, burning webs and repairing the levers and mechanism with Iron Rods and Chains. Collect the Pickaxe in the lower prison and use the fuse switches to power the cells. Ride the elevator to the Giant Spider, defeat it and collect the Gem. You can attack from its back after jumping onto it from a pillar.
- For the Guarana Gem, return to the sewers with the Pickaxe and clear the yellow goo blocking deeper passages. Continue through the drainage puzzles and Water Clock, repair the Boat mechanism with an Iron Rod and Chains, and recover the gate handle using a floating crate. In the Giant Moray Eel arena, turn the surrounding wheels to drain the water and attack the stranded eel. Repeat when the water returns, then collect its Gem.
- For the Bean Gem, descend into the crypt through the goblin-cave route with the Hammer, Nails and Rope. With the Hammer equipped, place a Nail in a flat wall and attach Rope, then work downward through the shafts and sliding doors. Beyond the fountain, descend to the bottom junction and take the right-hand path through the moving doors to the Gem. The statue puzzle beyond it is optional for this objective.
- For the Corn Gem, climb the hub stairs, turn left, then left again across the wooden plank. Go up the spiral staircase and look high along the left wall for a doorway you can reach with a Grappling Hook. Cross the room beyond and cut the roots with the Axe. Open the chest behind them to collect the Corn Gem and a Grinding Stone.
Use a Gem on the smaller statue mechanisms
Around the fountain route, any Gem can also activate the smaller statue mechanisms. Head right from the fountain through the door in the wall and continue to the statue; placing a Gem reveals a chest containing a Grinding Stone. Take the Gem back afterward so you can bring it to the Sanctuary Door.
Another statue reached farther along the stairs opens a hidden doorway. Inside, a lever behind the fountain opens a spiral-staircase shortcut to the hub. You can retrieve the Gem after using this statue too.
Reach the Sanctuary Door and place the Gems
- From camp, head upstairs to the locked door and look for the gap in the roof above it. Hold a Grappling Hook and aim upward until its placement prompt appears. Create a rope and climb through the gap.
- Drop down from the platform, turn around and clear the roots to open the nearby door as a shortcut. Bring all four Gems through the unlocked route, past the fountain and roots, to the large door with statues in front.
- Place the Bean, Corn, Guarana and Tomato Gems on the four statues, one per statue. Any arrangement works, and the Sanctuary Door remains open once the set is complete. Enter to find the Offering Plate; the crypt's six-statue Crystal Egg puzzle is a separate mechanism.
Complete the offering after opening the door
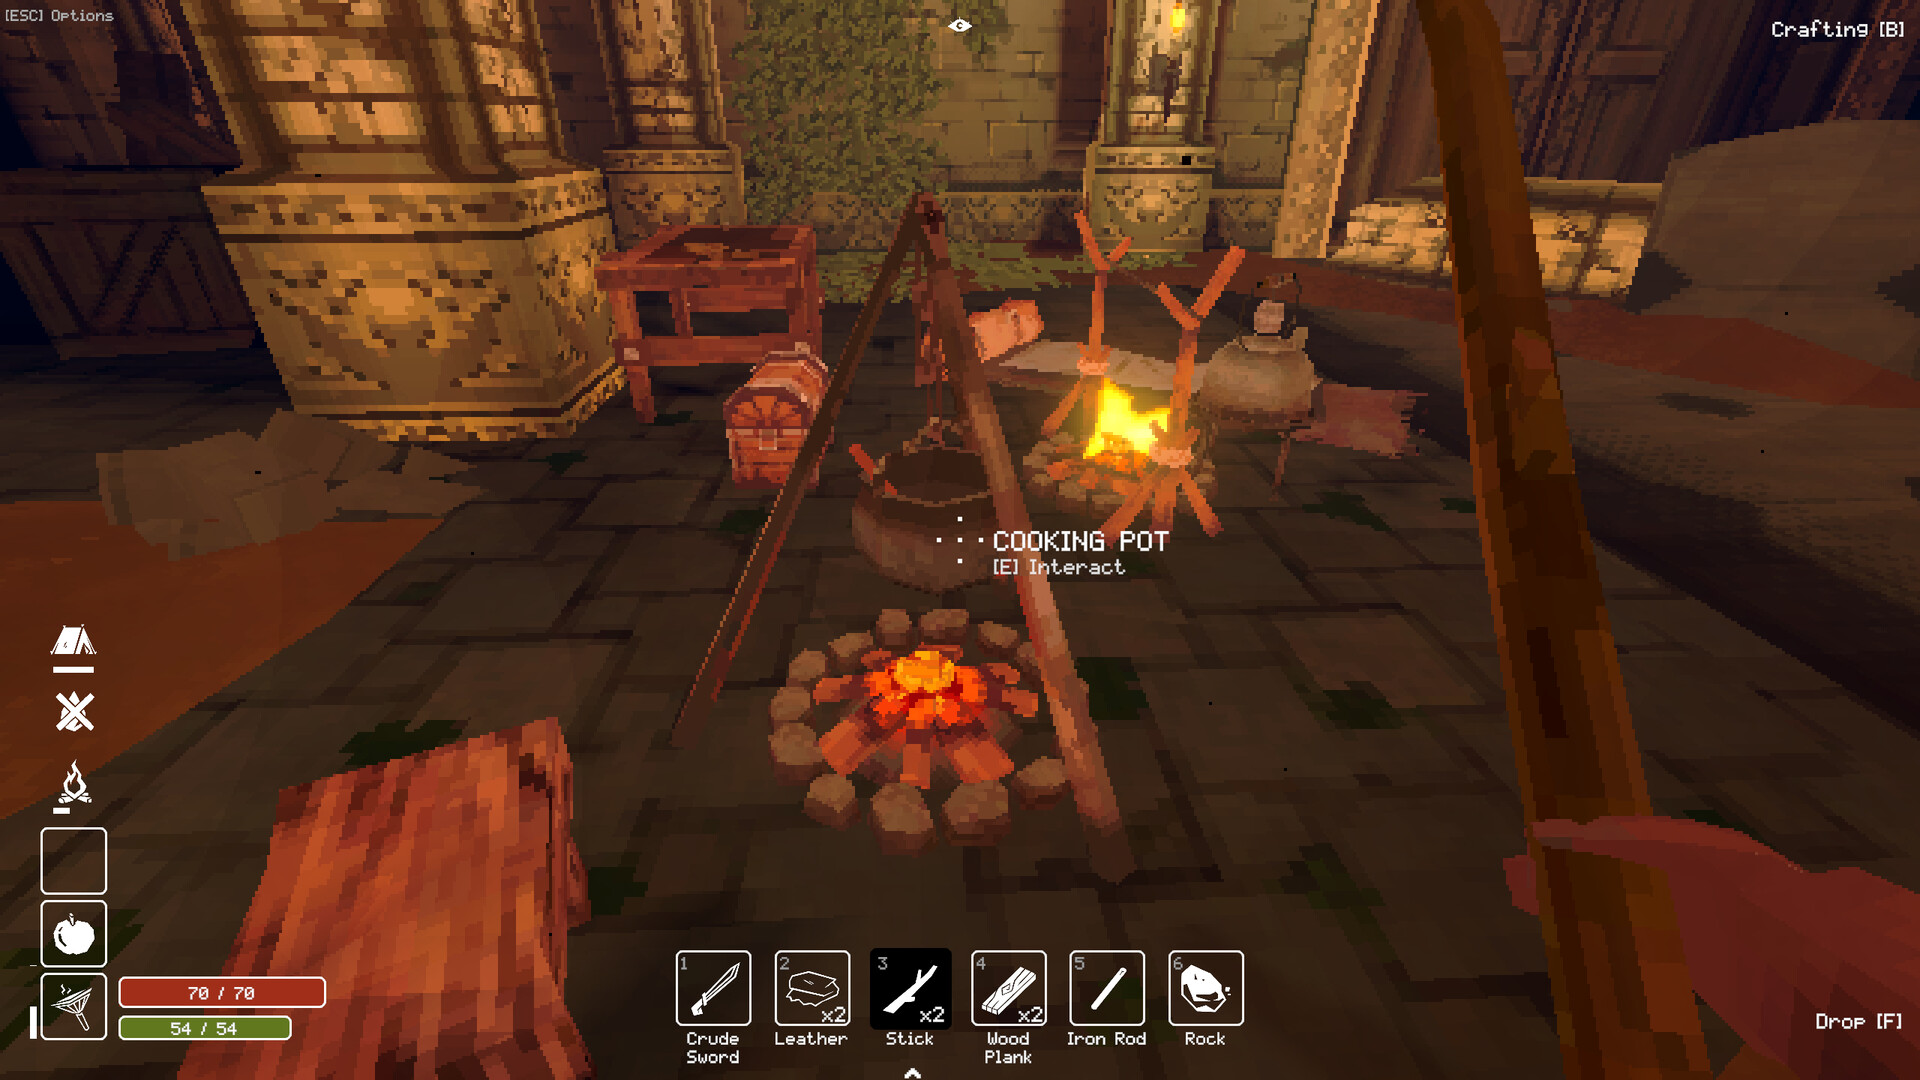
- Prepare a Cooking Table, which unlocks through Leather and costs 2 Wood Planks and 1 Leather. Combine 1 Wild Corn with 1 Water Bottle there to make Corn Dough. Wild Corn grows near the fountain after you clear the blocking rocks with explosives and operate the fountain lever.
- Collect Cheese and Tomato beyond the high doorway on the right side of the room used for the Corn Gem approach. At the Cooking Table, combine 1 Corn Dough, 1 Tomato and 1 Cheese into Raw Deep Dish Pizza. Bake it in an Oven fueled with Coal to make the finished offering.
- Place the cooked Deep Dish Pizza on the Offering Plate, then use the Sanctuary Bowl's Slide interaction to move it forward. When it locks, defeat the awakened skeletons before continuing. Push it to the end to reveal the final treasure; taking the Seed triggers the credits, and you can continue playing afterward.
Recover a missing Gem
Check any statues where you used a Gem earlier: Gems remain on their statues until retrieved. If a treasure has been lost, the host can recover it through the Catalogue, including when it is in another player's inventory.