Bean Gem location at the bottom of the crypt
The Bean Gem lies at the feet of a statue at the very bottom of the crypt. From the bottom junction, take the right path through both moving doors to reach it, with no boss fight required.
Pack the tools for the vertical descent
Bring the Hammer, Nails, and Rope for the crypt's drops. With the Hammer equipped and Nails in your inventory, aim at a flat wall to hammer in an anchor. Attach Rope to that Nail to create a climbing route.
In the Crafting menu, make a Nail from 1 Iron Rod and Rope from 2 Vines plus 1 Stick. Prepare spare climbing supplies before leaving camp. Store spare loot and refresh your food buffs before starting the route.
Reach the Axe from the sewer shortcut
If you already have the Axe and the goblin-cave shortcut to the hub is open, continue from the passage opposite the hub's double doors. That passage leads toward the overgrown Axe area and the deeper crypt. Otherwise, follow the sewer approach below.
- Re-enter the sewers through the shortcut opened before the eel boss. This returns you to the approach used for the Axe route.
- Backtrack through the sewers to the path split, then follow the branch through the broken gate.
- Turn the wheel beyond the broken gate to lower the water and expose the onward route.
- Crouch through the hole to enter the next area. Be ready for the skeleton that attacks as you arrive.
- Sprint-jump across the gap onto the stairs beside the grassy area to reach the next section.
- Follow the tunnel to its end to find the Axe. Collect it for cutting the brown roots found around the dungeon.
Open the goblin-cave shortcut to the hub
- Retrace your route to the boat, taking the stairs up at the path split. The boat leads back toward the Fuse Box.
- Activate the top switch at the Fuse Box to open the door at the far end of the boat route.
- Travel to the far end of the boat route and through the newly opened door to enter the goblin caves.
- Take the left path uphill, then the first small entrance on the left. This brings you to the railroad track.
- Follow the railroad track to find explosives along the route. These let you clear the large grey rocks ahead.
- Use explosives on the blocking rocks to open the route beyond the tracks toward a ladder.
- Continue past the ladder along the path containing the black bean bush to reach a large door.
- Position the nearby plank as a bridge to cross the gap by the door.
- Open the large door to establish the shortcut back to the hub. This gives you a convenient place to restock before descending.
- Turn back from the hub shortcut and enter the building on the right to return to the Axe section.
Descend through the crypt's sliding doors
- Jump across the gap by the Axe route to reach the stairs leading farther down.
- Follow the stairs to the bottom, where the route appears to end. This is where you begin making your own climbing path.
- Hammer a Nail into a flat wall at the bottom of the stairs to provide an anchor.
- Attach Rope to the Nail to create the descent into the area below.
- Climb down the Rope to reach the wall with the movable metal part.
- Slide the metal part across to open the way through the wall.
- Move the next sliding door aside to reach the room containing another Rope.
- Descend that Rope to reach the next platforming stretch of the crypt.
- Cross the platforms toward the skeleton archer to reach the water fountain landmark.
- Return to the chasm and establish a Nail-and-Rope descent left of the archer's platform to continue downward.
- Use another Nail-and-Rope descent at the bottom of the stairs to reach the lower passage.
Pass the crypt camp and collect the Bean Gem
- Take the path left of the picture showing skeletons to reach a sliding door.
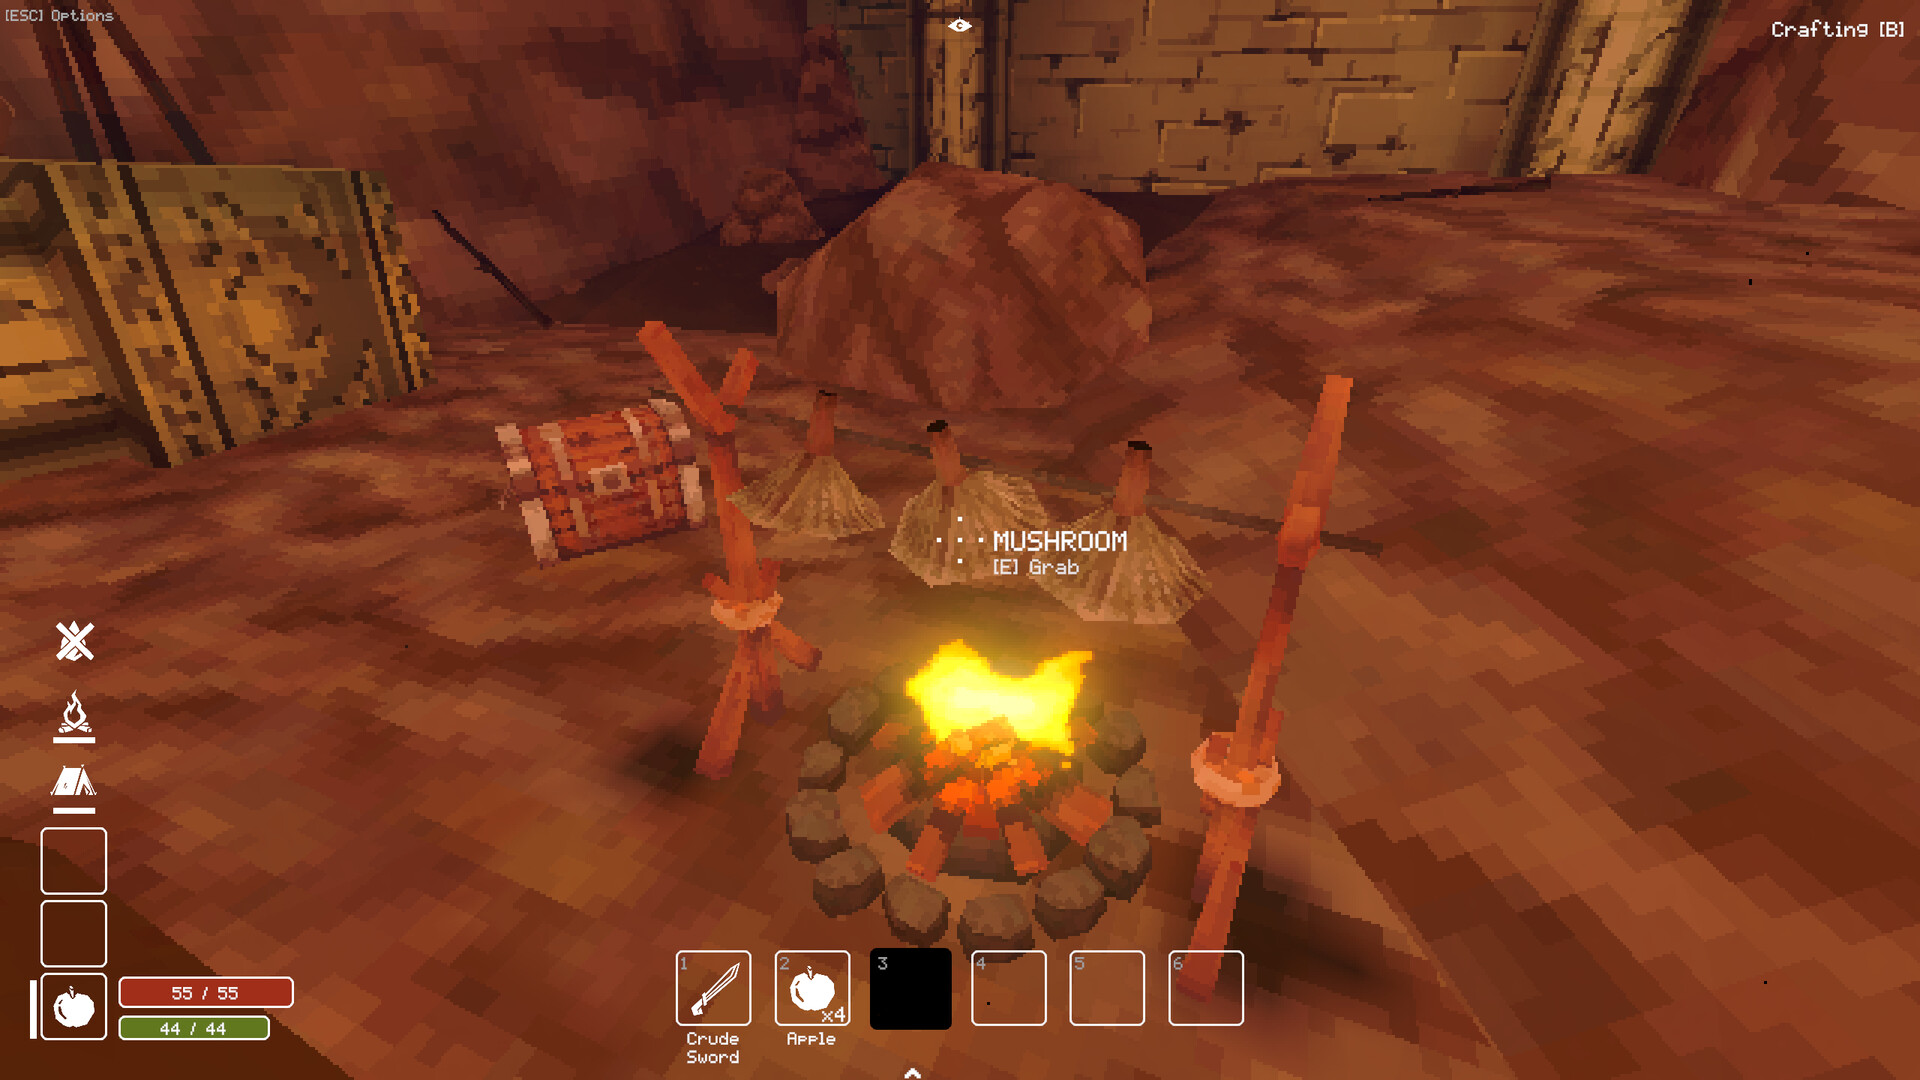
- Slide that door left to reveal a camp you can use as a temporary base.
- Use the Iron Rods at the camp to replenish your Nails before continuing into the next section.
- Leave the camp and continue past the water fountain into the shaft, where the route descends again.
- Extend your descent through the shaft with Nails and Rope until you reach the junction at the bottom.
- Take the right path from the bottom junction to reach the moving doors leading toward the Gem.
- Pass through both moving doors to reach the statue at the crypt bottom.
- Pick up the Bean Gem at the statue's feet. This completes the Gem objective without a boss encounter.
The Crystal Egg puzzle is a separate objective
You can collect the Bean Gem before solving the nearby six-statue puzzle. Filling and correctly turning those crypt pedestals leads to the Crystal Egg. That puzzle is optional for the main quest, so you can leave once you have the Gem.
The Statue Mold is on a different branch: take the left path at the bottom junction, then turn left shortly afterward. It has a Handle and requires 16 Clay per statue. Save that branch for when you want to tackle the Crystal Egg puzzle.
Leave through the prison elevator
Back at the bottom junction, follow the slightly slanted passage to the elevator connecting to the prison area. The ride is slow, but it provides a shorter exit than retracing the climbing route. Use it to head back toward the main camp with the Bean Gem.
Keep the Bean Gem for the Sanctuary Door. It belongs with the Tomato, Guarana, and Corn Gems on the statues beside that door. Collecting the Bean Gem is part of that progression; the Crystal Egg remains a separate treasure.