Start with food, then follow your next obstacle
Start by cooking food, filling your stomach and reaching the main hub camp; then choose the guide for the tool, material or puzzle blocking your route. If you already have the Tomato Gem, follow the deeper sewer walkthrough toward the Guarana Gem.
Keep camp at the center of your plans. Exploration supplies ingredients and crafting materials, while meals and tools help you tackle previously blocked areas. Return with a purpose: prepare for the barrier you found, refresh your food and leave space for the next useful discovery.
Get through the entrance and establish camp
- Cook an apple and a mushroom at the starting campfire. Prepare these opening foods before attempting the door that requires a full stomach.
- Fill your stomach with the cooked food and a drink from the fountain. Drinking fills the remaining stomach slot in the opening route, letting you proceed through the full-stomach door.
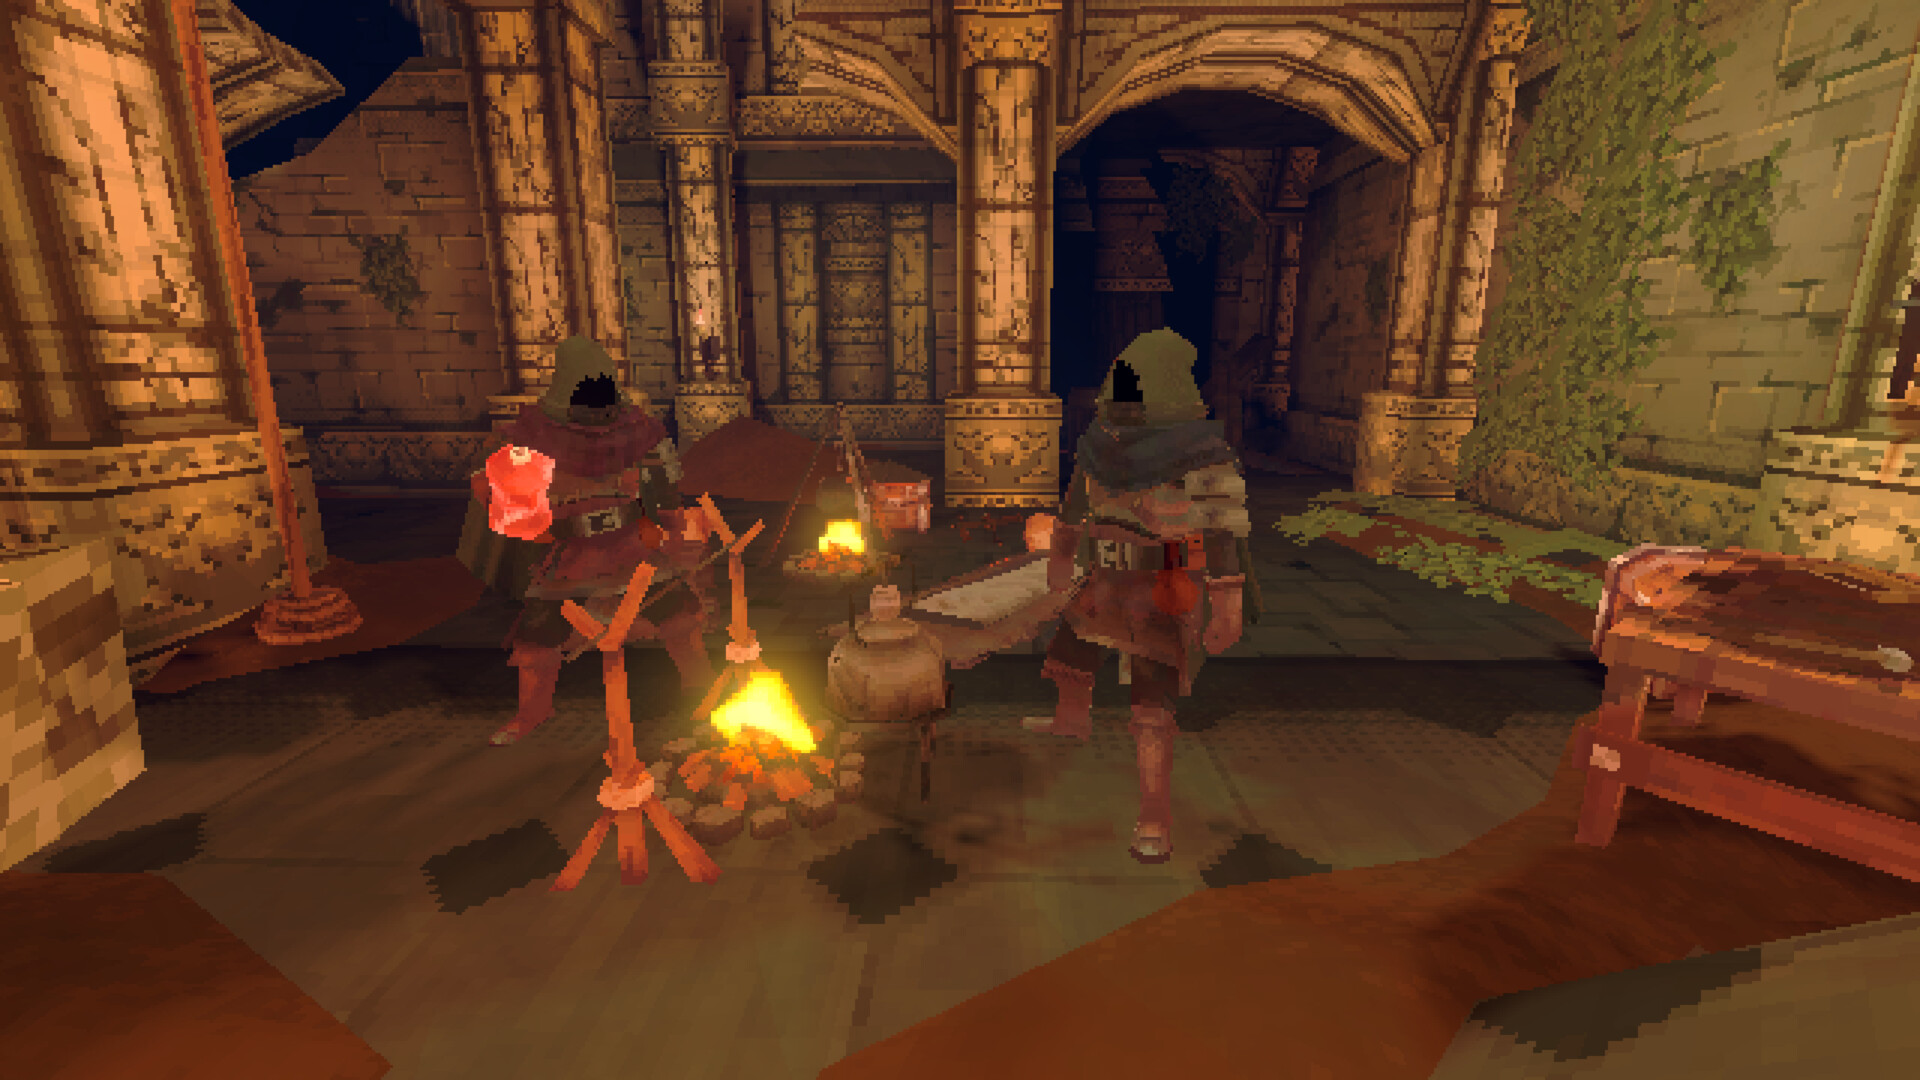
- Open the next locked door with its key. This leads to the large room with a campfire, sleeping bag and chest, giving you a place to organize your next expedition.
- Set the sleeping bag as your spawn point. Use it to make the camp your return point after death, and plan your next trip around the supplies you can prepare there.
Choose the route for your next progression item
- Collect the Prison Key from the chest in the room behind the Iron Key door. Make this your next key objective when the prison entrance is the barrier stopping you.
- Retrieve the Pickaxe in the lower spider prison, behind the door with skeleton archers above. It breaks yellow goo, so it is the tool to bring when those piles block further sewer exploration.
- Defeat the Giant Spider in the prison to obtain the Tomato Gem. Keep the gem for later progression, and use the full walkthrough for the prison's levers, cells and elevator route.
- Follow the sewer walkthrough toward the Guarana Gem after obtaining the Tomato Gem. This route covers the drained passages, Water Clock, boat repair and carried handle before the Giant Moray Eel fight.
- Retrieve the Axe at the end of the tunnel beyond the grassy area reached from the sewer path. It cuts brown roots, including the roots near the hub campsite, opening another set of routes.
- Descend through the crypt toward the Bean Gem. Use the Axe and Bean Gem walkthrough for the nail-and-rope descents and sliding doors; the elevator near the bottom provides a shortcut back toward the prison.
- Retrieve the Corn Gem from the chest behind roots above the hub's spiral stairs. Bring an Axe and Grappling Hook; the upper route starts by going left from the hub stairs and crossing the wooden plank.
Turn each camp visit into meals and useful tools
Prioritize Leather when you want to expand your crafting options. Picking it up unlocks the Cooking Table, which costs 2 Wood Planks and 1 Leather; the Workbench costs 3 Wood Planks, 2 Iron Rods and 1 Leather. At the Workbench, 2 Animal Hide make 1 Leather.
Store food in a Food Basket when you are preparing supplies for later. It keeps food fresh longer and costs 3 Vines to craft. Keep ordinary materials in camp storage so your next expedition has room for the items you actually need.
Pick the puzzle guide that matches the room
Recover your supplies before repeating a route
Your Backpack stays on you after death, while items you do not keep go into a death pack. If a treasure has gone missing, the host can recover it through the Catalogue, including from another player's inventory. Check that option before retracing a long treasure route.
Look on the water's surface for a death pack lost in water, or on the last solid ground after a death in mid-air. Packs that fall below the world return to camp or spawn. If you need a replacement Pickaxe, check the Workbench for its recipe.